


Description
Process of Creating Plotter Cutting Stickers:
- Design Creation: Create the desired design using graphic design software compatible with the plotter cutter. This design can be logos, text, intricate patterns, or graphics.
- Material Selection: Choose the appropriate adhesive vinyl sheets based on color, finish, durability, or specific application needs (such as indoor or outdoor use).
- Preparation for Cutting: Load the chosen vinyl sheet into the plotter cutter and set the machine based on the design parameters (size, shape, depth of cut, etc.).
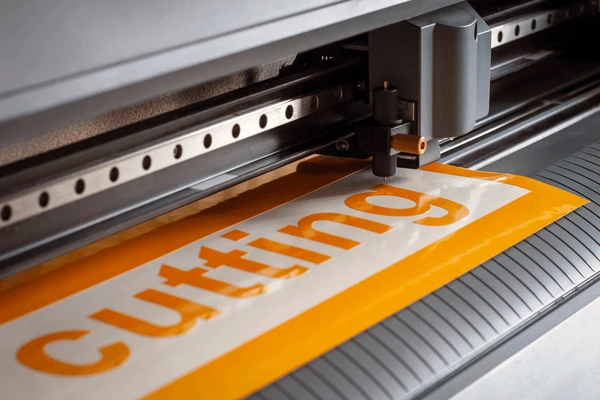
- Cutting Process: The plotter cutter precisely follows the design outline, cutting through the vinyl sheet but not through the backing paper.
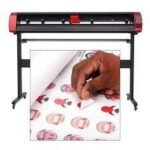
- Weeding: Remove the excess vinyl material from around the cut design using a weeding tool, leaving only the intended sticker or graphic.
- Application with Transfer Tape: Apply transfer tape over the cut sticker, allowing for easy transfer from the backing paper to the desired surface.
Applications of Plotter Cutting Stickers:
- Branding and Marketing: Businesses use these stickers for branding on products, promotional items, packaging, or storefront displays.
- Signage and Labels: Create signage, labels, or informational graphics for retail spaces, events, or organizational purposes.
- Vehicle Graphics: Design and apply decals or graphics to vehicles for branding, advertising, or personalization.
- Custom Decor: Personalize laptops, walls, home decor items, or create unique designs for personal projects.
Advantages of Plotter Cutting Stickers:
- Precision Cutting: Plotter cutters offer precise and detailed cutting, allowing for intricate and customized designs.
- Customization: They enable customization in terms of size, shape, color, and design, catering to specific branding or personalization needs.


Reviews
There are no reviews yet.